This recipe will guide you through making a delicious and beautifully braided challah bread. Challah is a traditional Jewish bread that is rich and slightly sweet. Enjoy it as a centerpiece for your holiday meal or as a delightful treat any time.
Ingredients
Dough
- Active dry yeast — 1 packet (7 g or 2 1/4 tsp)
- Warm water — 240 ml
- Sugar — 50 g
- Vegetable oil — 60 ml
- Eggs — 2 pc
- Salt — 1 tsp
- Flour — 500 g
Egg Wash
- Egg — 1 pc
- Water — 1 tbsp
Unlock the Secrets of Flavor
with Our Step-by-Step
Cooking Instructions!
In a small bowl, dissolve the yeast in warm water and let it sit for 5 minutes until it becomes frothy.
In a large bowl, combine the yeast mixture, sugar, oil, eggs, and salt. Mix well.
Gradually add the flour, stirring until the dough comes together and forms a ball.

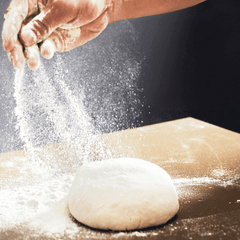
Transfer the dough onto a floured surface and knead for 6-8 minutes until it becomes smooth and elastic.
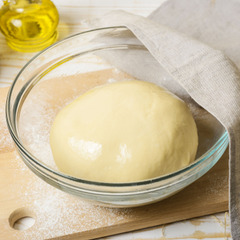
Place the dough in a greased bowl, cover it with a clean kitchen towel, and let it rise in a warm place for about 1 hour or until it doubles in size.
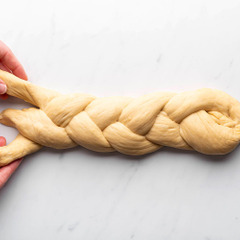
Once the dough has risen, punch it down to release the air and divide it into 3 equal parts.
Roll each part into a long rope, about 16 inches (40cm) long.
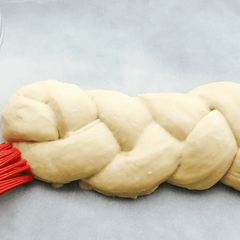
Pinch the ends of the ropes together, then braid them by crossing the right rope over the middle, then the left rope over the middle, until you reach the end.
Pinch the ends together and tuck them under.
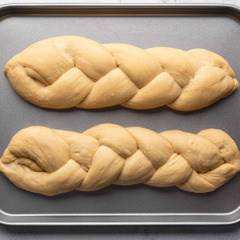
Transfer the braided challah onto a greased baking sheet, cover it with a towel, and let it rise for 30-45 minutes until it puffs up.
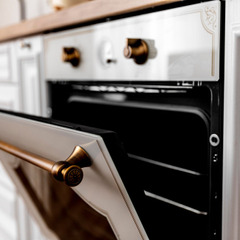
Preheat the oven to 375°F (190°C).
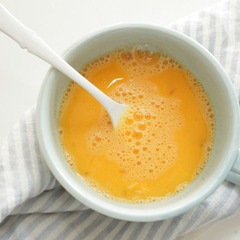
In a small bowl, whisk together the egg and water to make the egg wash.
Brush the egg wash over the risen challah, making sure to coat the entire surface.
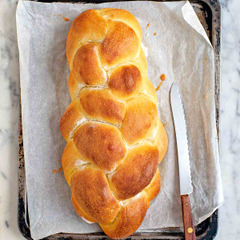
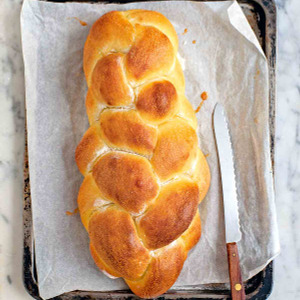
Bake for 25-30 minutes until the challah is golden brown and sounds hollow when tapped on the bottom.
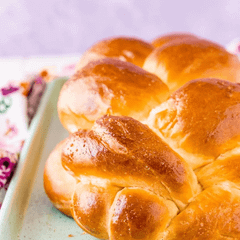
Remove from the oven and let it cool on a wire rack before slicing and serving.